
Adventure is Out There: Your Guide to Greenland Photography
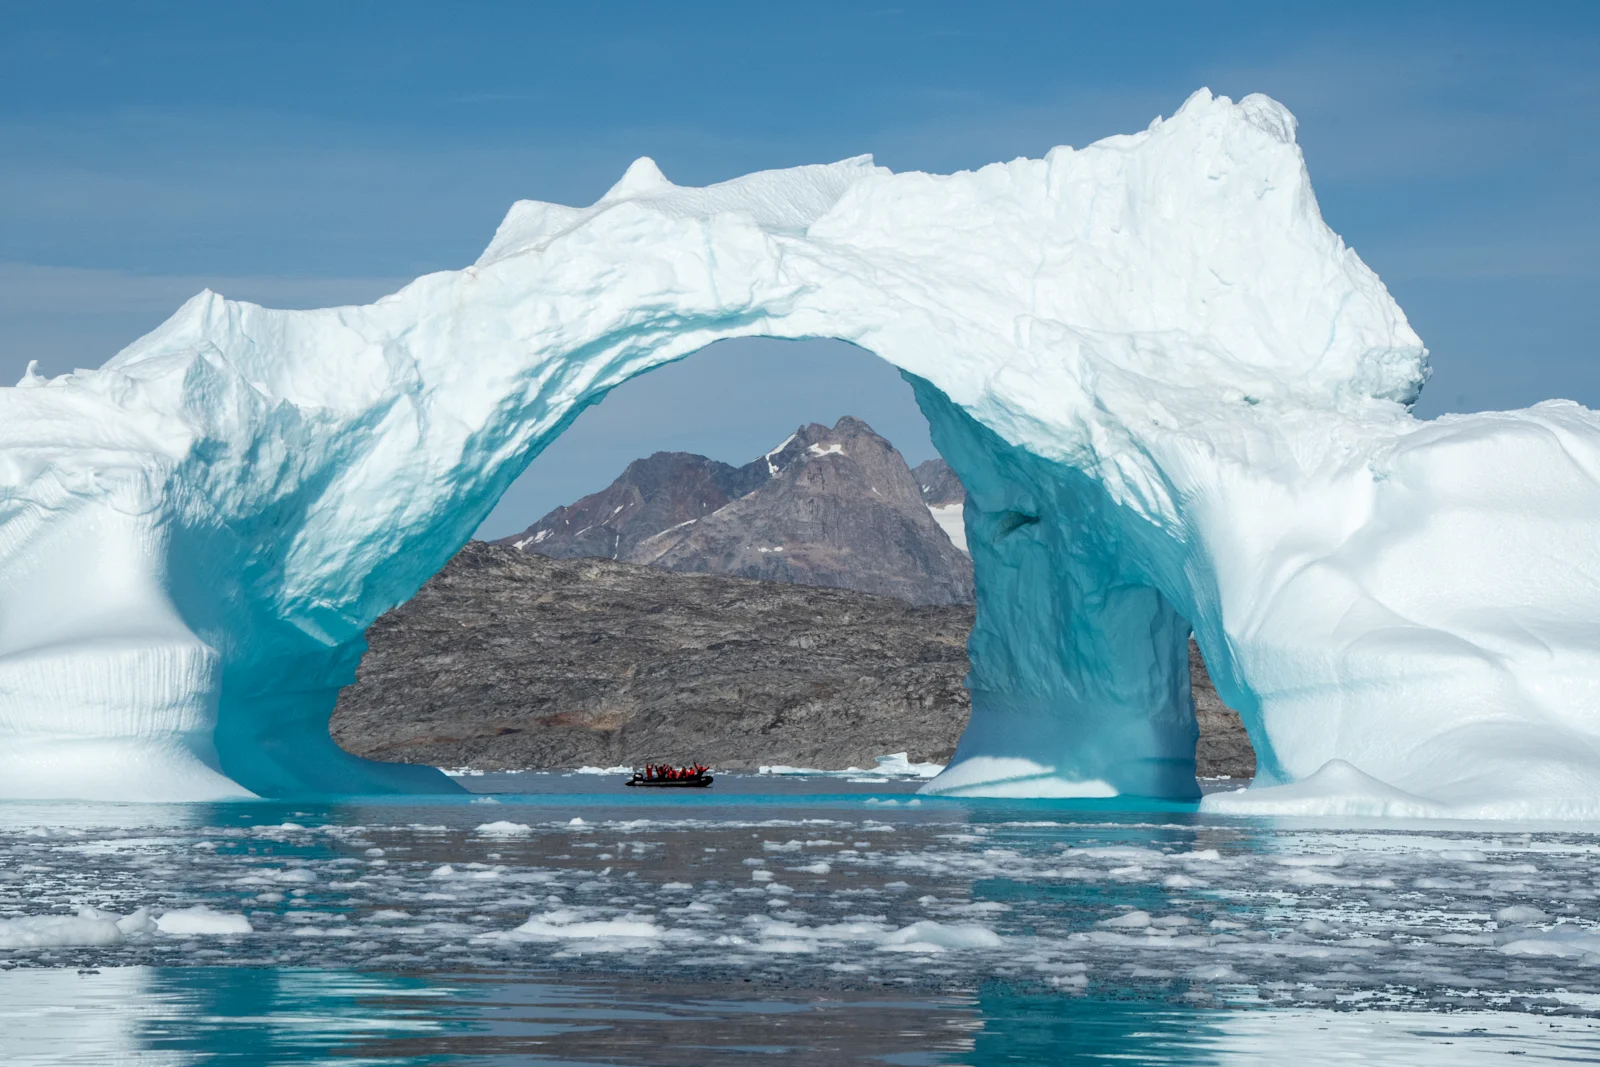
It’s hard to tell how big an iceberg is in one of Greenland’s fjords. You can sit there for a while thinking you’re looking at a perfectly respectable chunk of ice. Then a Zodiac comes around the far side, and you have to revise your estimate by several stories. Suddenly, the story of the Titanic makes a lot more sense. The people in that skiff are just a few pixels tall compared to your frame filling ice cube. One of them is wearing a red jacket, but you can barely see it.
That’s the picture. The one you took ten seconds earlier, with just the iceberg in it, is probably lovely. I’d keep the one with the red jacket.
East Greenland gives you plenty of opportunities to get this sort of thing wrong. The mountains are big enough to make you forget about the ground beneath your feet. The icebergs are so good that you can spend an entire boat ride photographing them and only come away with photos of 10% of their beauty. (It’s not your fault, the other 90% is underwater.)
And somewhere in the coastal town of Tasiilaq, while you’re still deciding whether you need another lens, somebody is getting on with their morning coffee in a place you’ve been thinking about for years. All of that belongs in the story.
While I firmly believe there are some places that just can't be done justice with a photograph; Greenland is one of those places that I still think it's fun to try. Below is my guide to helping you capture some of the remote splendor of the Arctic's largest island.
Pack What You’ll Actually Use
One camera body and two lenses can cover most of a Greenland photo trip. A 24–70mm or 24–105mm handles fjord views, portraits and life aboard a Zodiac. A 100–400mm gives you reach for whales and Arctic foxes and doubles as an excellent lens for picking out details in ice. (All focal lengths here are full-frame equivalents).
A 16–35mm earns its space if you love working close to foregrounds or want to try for the northern lights. For aurora, the fast wide lens and a compact tripod are worth bringing. Bring a camera rain cover, spare batteries, a couple of lens cloths and gloves thin enough to work your camera. Test this at home by changing your autofocus settings with the gloves on. If you’re already irritated in your living room, imagine how much fun it’ll be on moving boat.
Give the Mountains Something to Work With
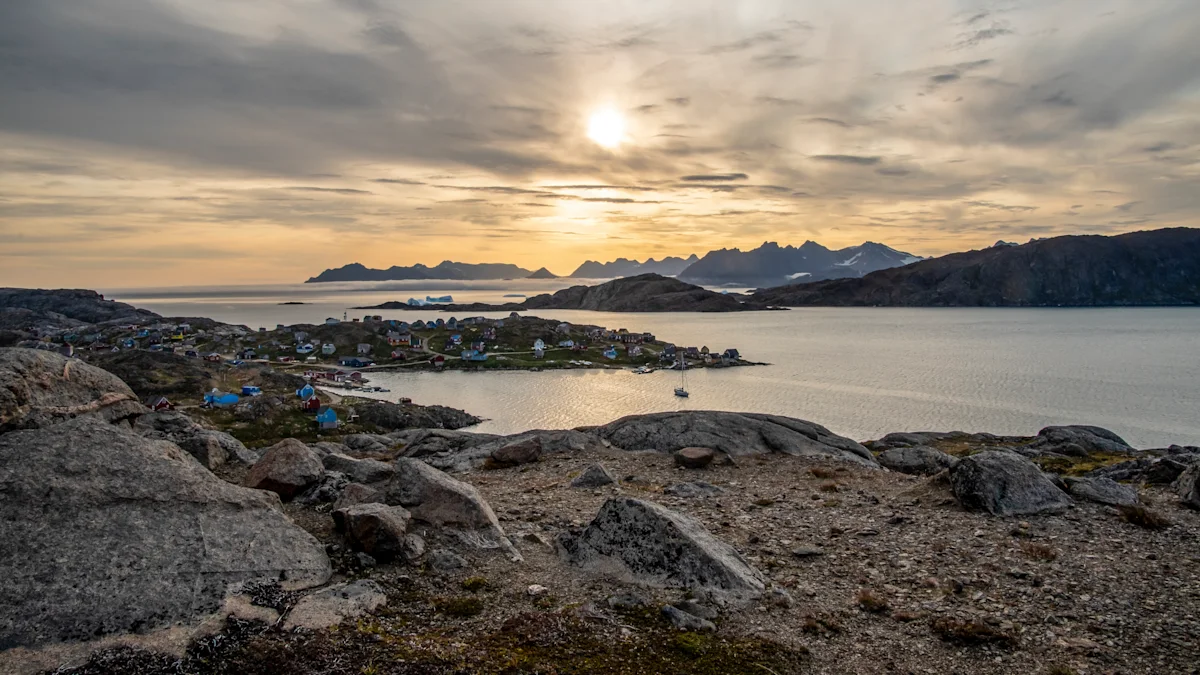
When there’s a whole range across the fjord, it’s tempting to stand upright, go as wide as possible and try to get it all in. The trouble is that a wide lens makes distant things look smaller. Put something close to the camera that tells us where we’re standing. A wet stretch of shoreline can pull the eye into the fjord. A patch of red tundra can hold its own against an entire mountainside.
Then try the opposite. Put on the telephoto and look at where the ridges overlap. Maybe there’s a strip of sun moving across one dark slope. Watch where it’s headed and frame the bit of mountain you want it to reach. Give it a minute. If the cloud closes up, look down. An overcast afternoon can be flat across the fjord and beautiful at boot level, where the lichen is wet and the tundra has more color than you’d have guessed from standing height.
Find the Iceberg’s Good Side
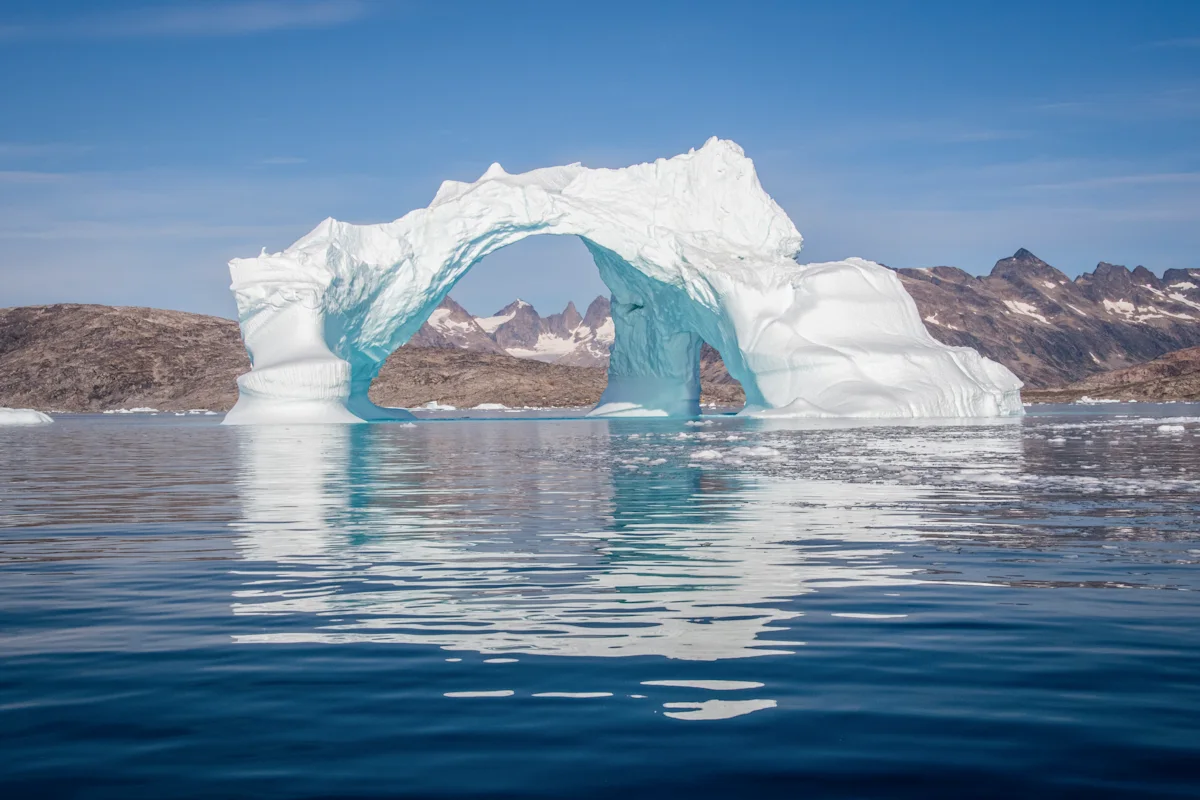
From the Zodiac, watch what happens behind the iceberg as the boat moves. For a few seconds a dark mountainside might sit behind a bright fin of ice. Then the fin crosses into pale sky and nearly disappears. That little window, when the shape stands clear of everything behind it, is often the photograph.
I’d start around 1/1000 sec on a moving boat and go faster in choppy water or at the long end of the zoom. Check the histogram from time to time. A camera can render bright ice a dispiriting shade of gray. If the highlights have room, give the frame a little more exposure and check again. Try a wide frame of the glacier meeting the fjord, then use the long lens to see what’s happening in the broken ice across its face.
Make an Iceberg Unrecognizable
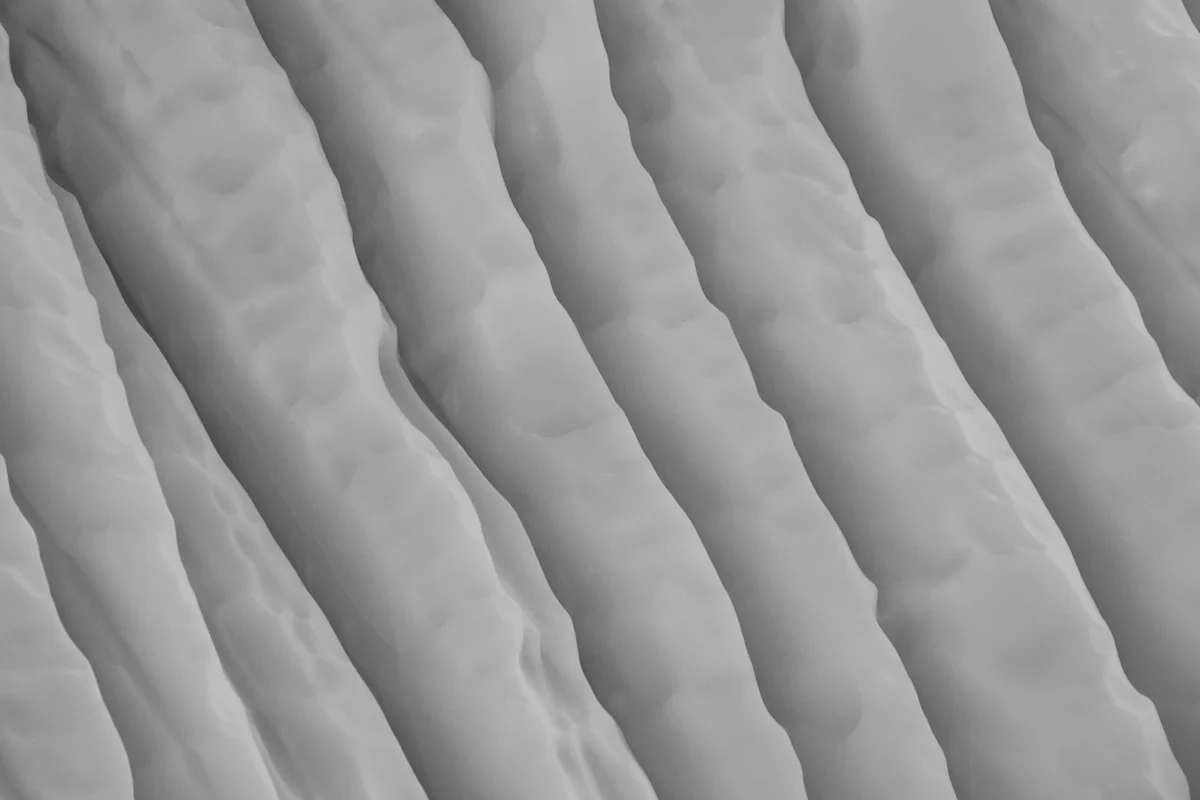
A telephoto can turn an iceberg into a photograph about three things: a blue seam, a dark crack and the way one curves around the other. Fill the frame and check the corners. A sliver of sky can give away the subject just as the picture is getting interesting.
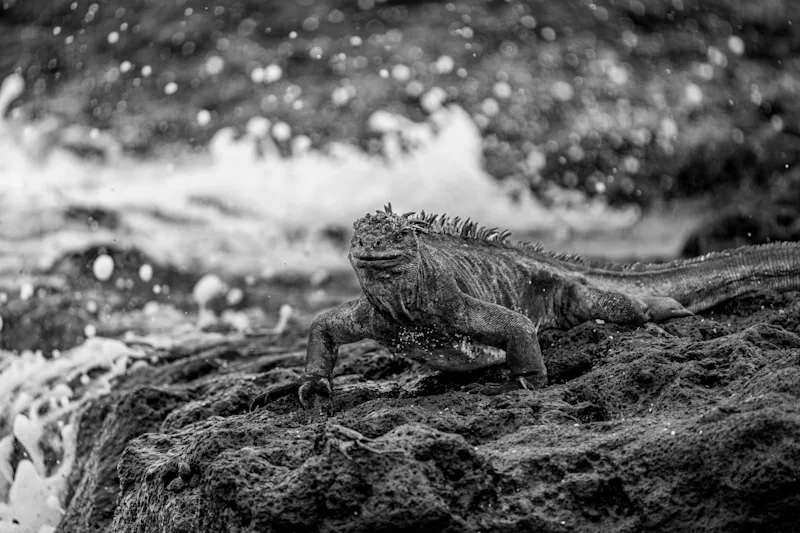
Try the same patch of ice in color and black and white. If the blue is what drew you in, keep it. If it was the rhythm of the grooves or the shadow under a ridge, see what happens when you take the color away. Some of the most satisfying frames come from the unremarkable end of an iceberg everyone else is trying to fit into one photograph.
A Whale Will Surface While You’re Checking Your Settings
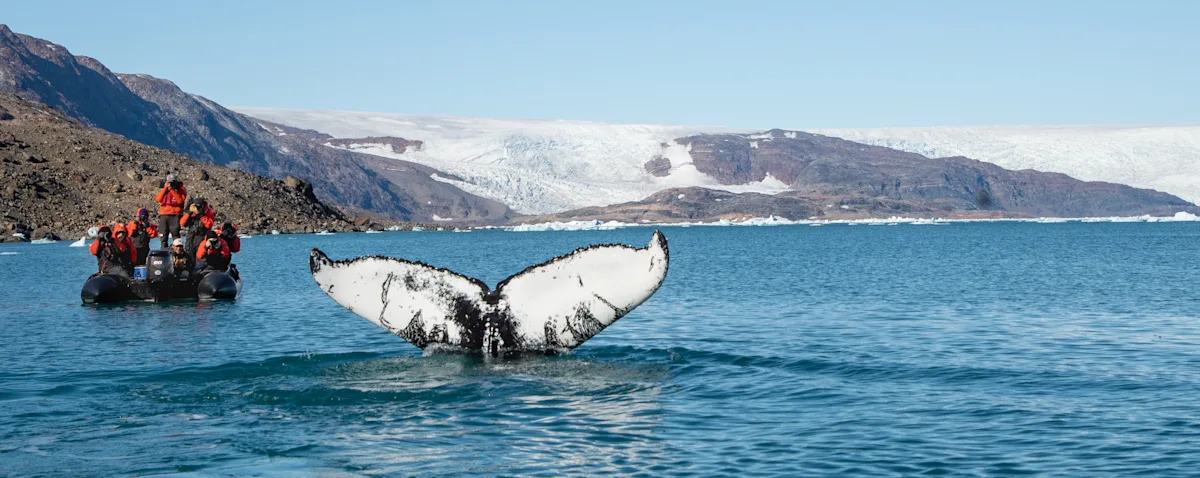
Start a little wider than you think you need to. Finding a whale through a long lens is harder than finding it with your own eyes, especially when the boat is moving. After the first blow, watch which way the animal was heading and put the camera up before the next breath. Continuous autofocus, short bursts and roughly 1/1600 sec are a sensible starting point. If there’s ice in the frame, consider leaving it there. A small back breaking the surface under a towering berg gives the whale a place in the world.
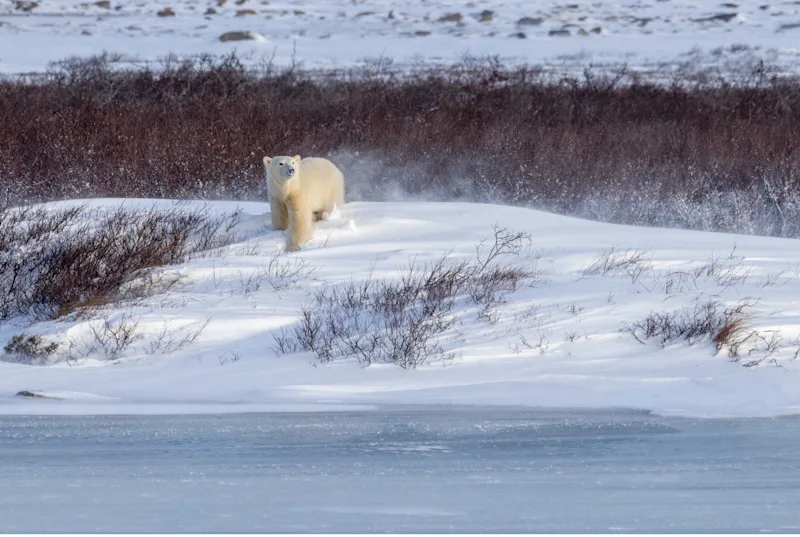
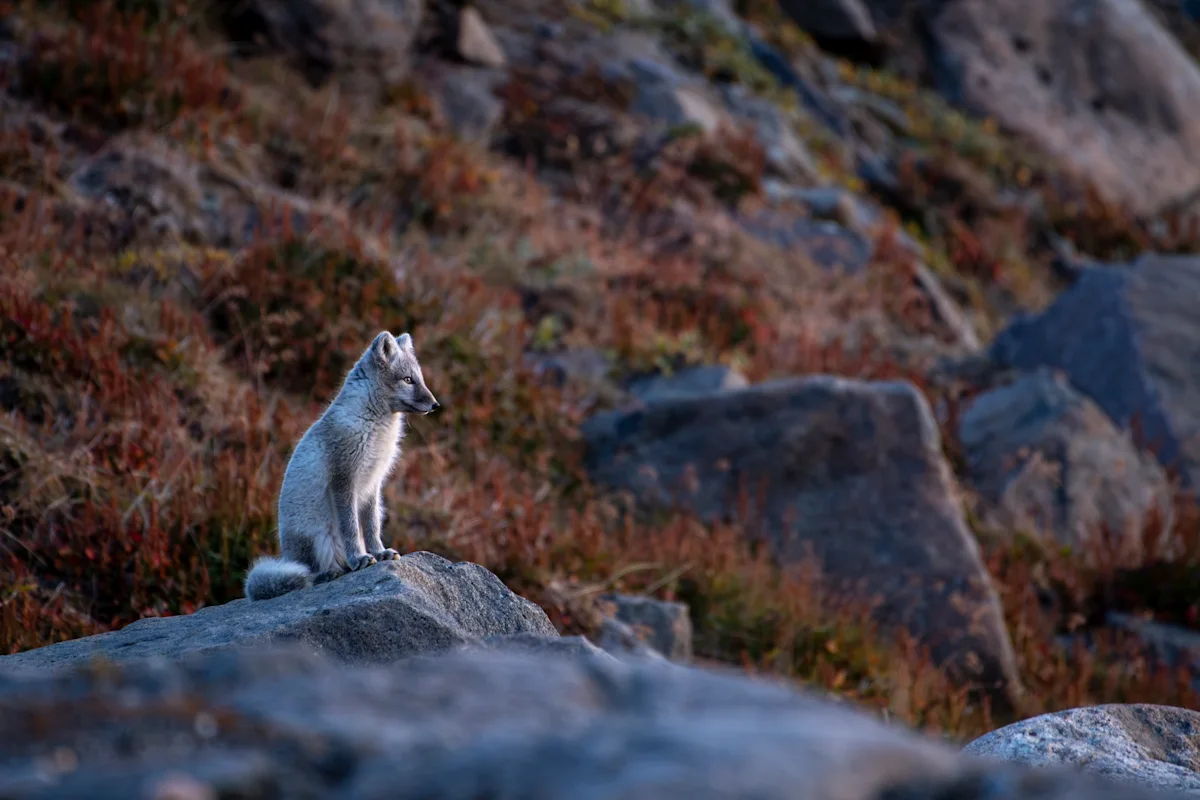
On land, scan the edges of boulder fields and breaks in the tundra for an Arctic fox. If one appears, stay where you are and see what it does. A fox trotting across a hillside can disappear in a dip and pop back out in better light. Leave some room ahead of it and let the landscape do its share of the work.
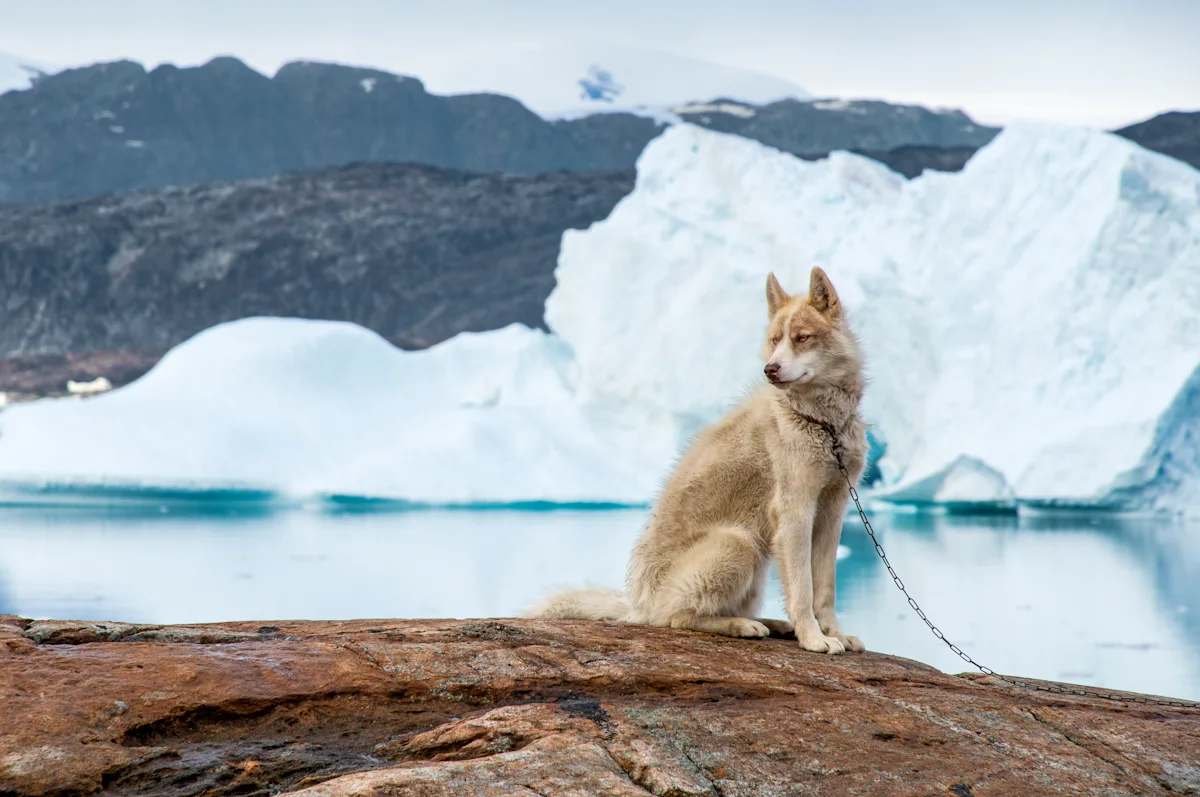
In town, Greenlandic sled dogs are worth photographing with their handler’s permission and guidance. A dog resting beside its harness, or a team looking toward the person who works with them, tells you something a tight portrait can miss. Though if one of them gives you a look that makes you feel personally inadequate, by all means take the portrait.
Say Hello Before You Lift the Camera
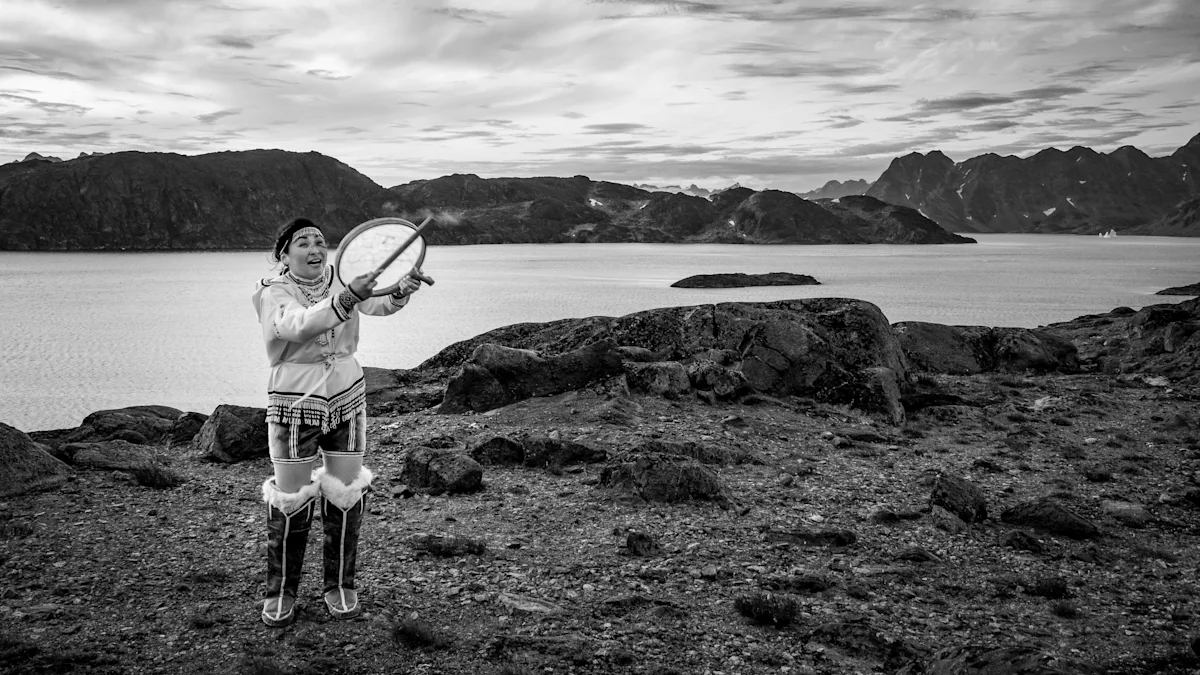
You can walk through Tasiilaq and come back with a card full of colorful houses. Spend some of that walk talking to people and you’ll have a better idea of what you’re seeing. Ask before making a portrait. If you hope to publish it, say where. If someone would rather get on with their day, let them.
When a person does want to be photographed, let the conversation have some say in the picture. They might show you a boat they’ve been working on or point out something in the harbor you’d have walked straight past. Give that detail some room in the frame. A portrait can be good because of what’s around the person, because of what they’re doing with their hands or because they’ve finally stopped wondering why you’re taking so long.
Photograph the Part Between the Views
Shoot the Zodiac’s wake bending across the fjord, the spray hanging in the air or your fellow travelers looking up at a wall of ice. From your seat, a wider lens can bring the boat, the passengers and the water into the same frame. A fast shutter freezes spray and gives you a better chance of sharp faces as the boat moves.
On an off-trail hike, pause on stable footing and let the group move into the composition. A few small figures crossing a slope show how much ground there is to cover. Then photograph the smaller moments, too. Wet boots on rock, a hand steadying a pack or the moment everyone stops to look back can bring the hike to life in a way the summit view alone rarely does.
Bring Home More Than the Big Blue One
On Nat Hab’s East Greenland Photo Expedition, you can photograph Sermilik Fjord from a Zodiac, hike the tundra and spend time in Greenlandic communities. When you edit the trip, try putting a few photographs side by side. The iceberg shows the scale, the close-up shows what the ice was doing and the boat ride shows what it felt like to be there. That last frame might be the one you linger on.